Indexing ERC20 Token Transfers on Base
In this tutorial, we'll walk you through the process of quickly and efficiently indexing ERC20 token transfers on the Base network using Envio HyperIndex and no-code contract import feature, providing real-time insights into metrics such as the largest USDC transfers.
The goal is to create an indexer that tracks and analyzes all USDC token transfers on Base by extracting the Transfer (index_topic_1 address from, index_topic_2 address to, uint256 value) logs emitted by theUSDC contract.
Prerequisites
Before we start indexing, you'll need to make sure you have the prerequisites installed.
Initializing an Indexer
Now that you’re all set up and have installed the prerequisite packages required, let’s jump into the practical steps of initializing the indexer and generating a boilerplate index to index the largest USDC token transfers on Base.
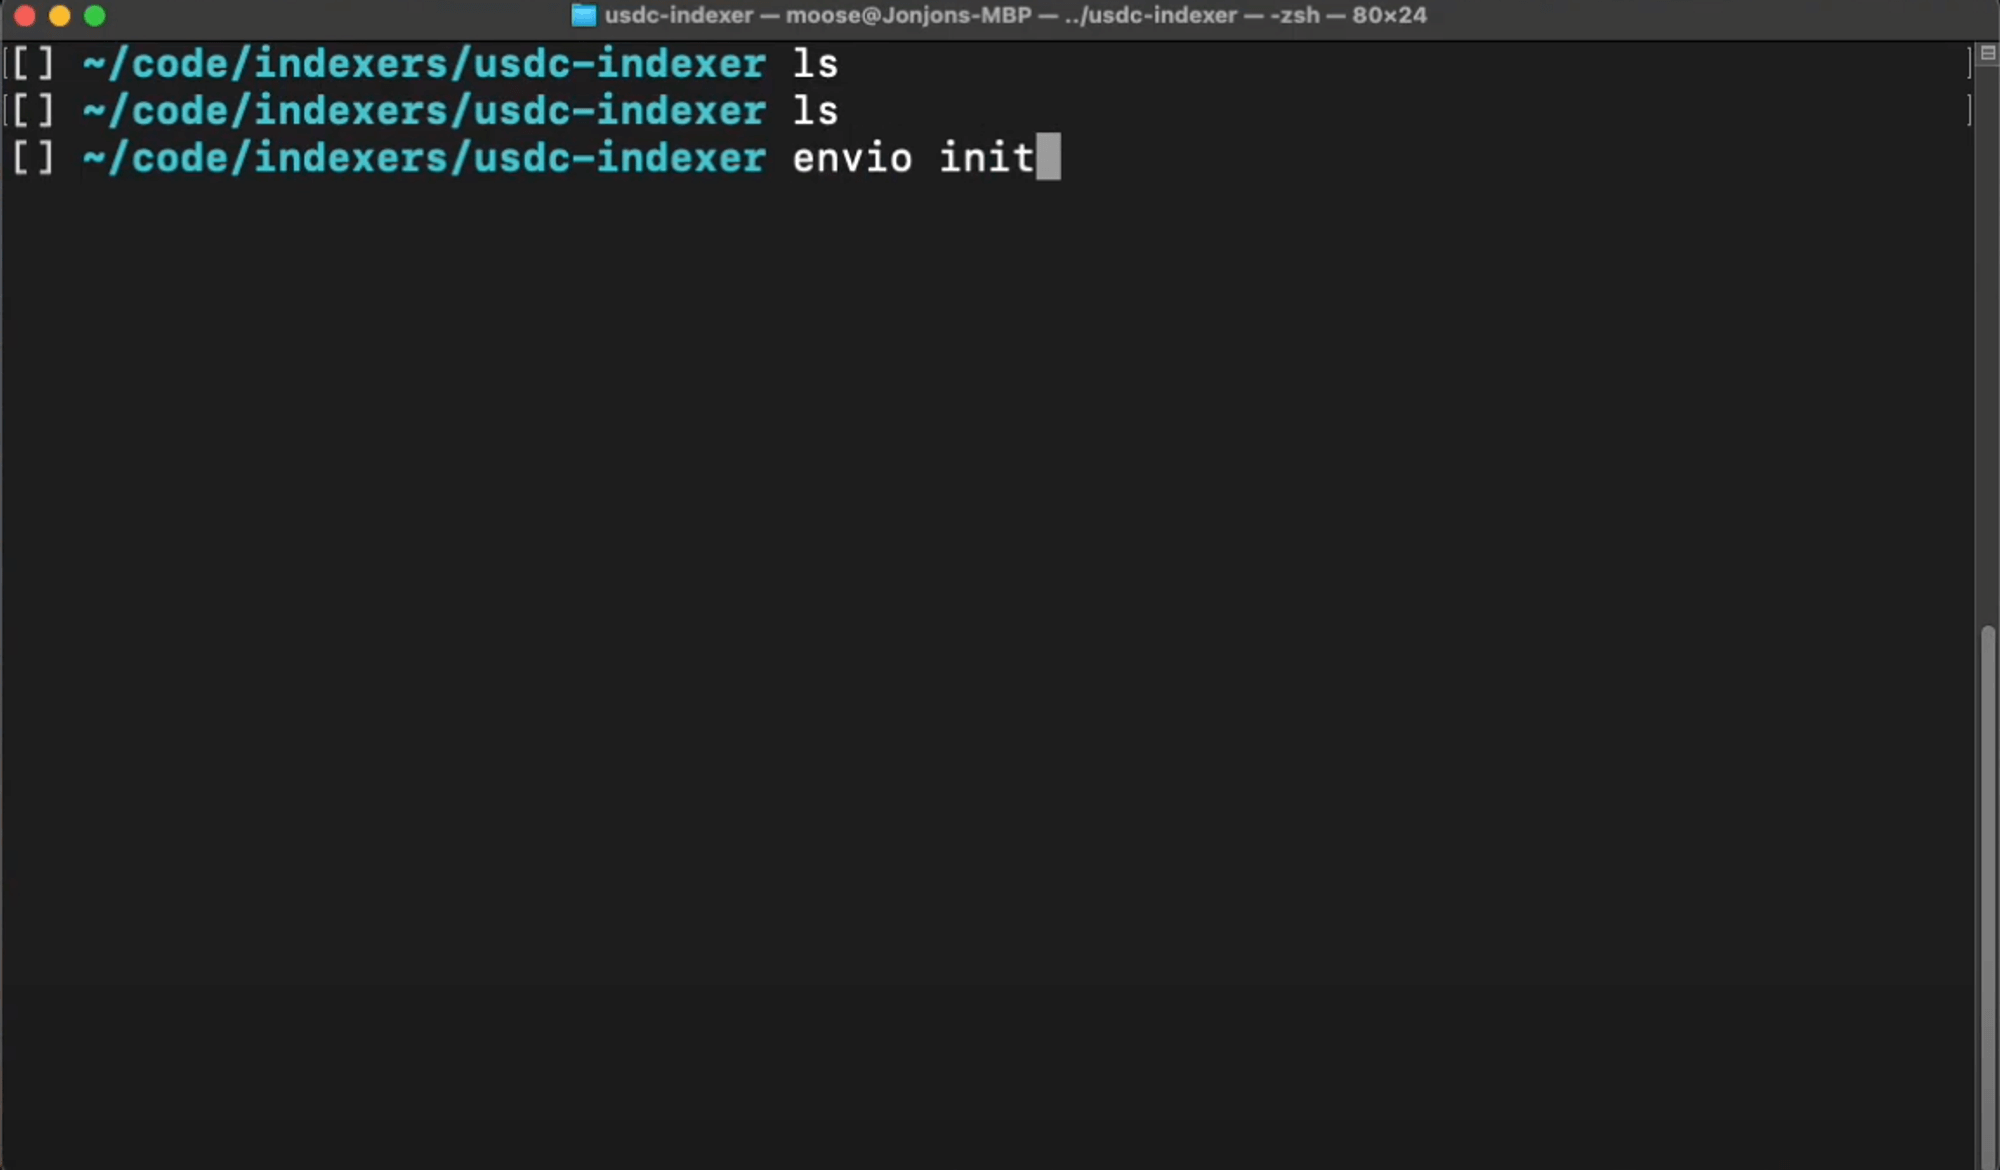
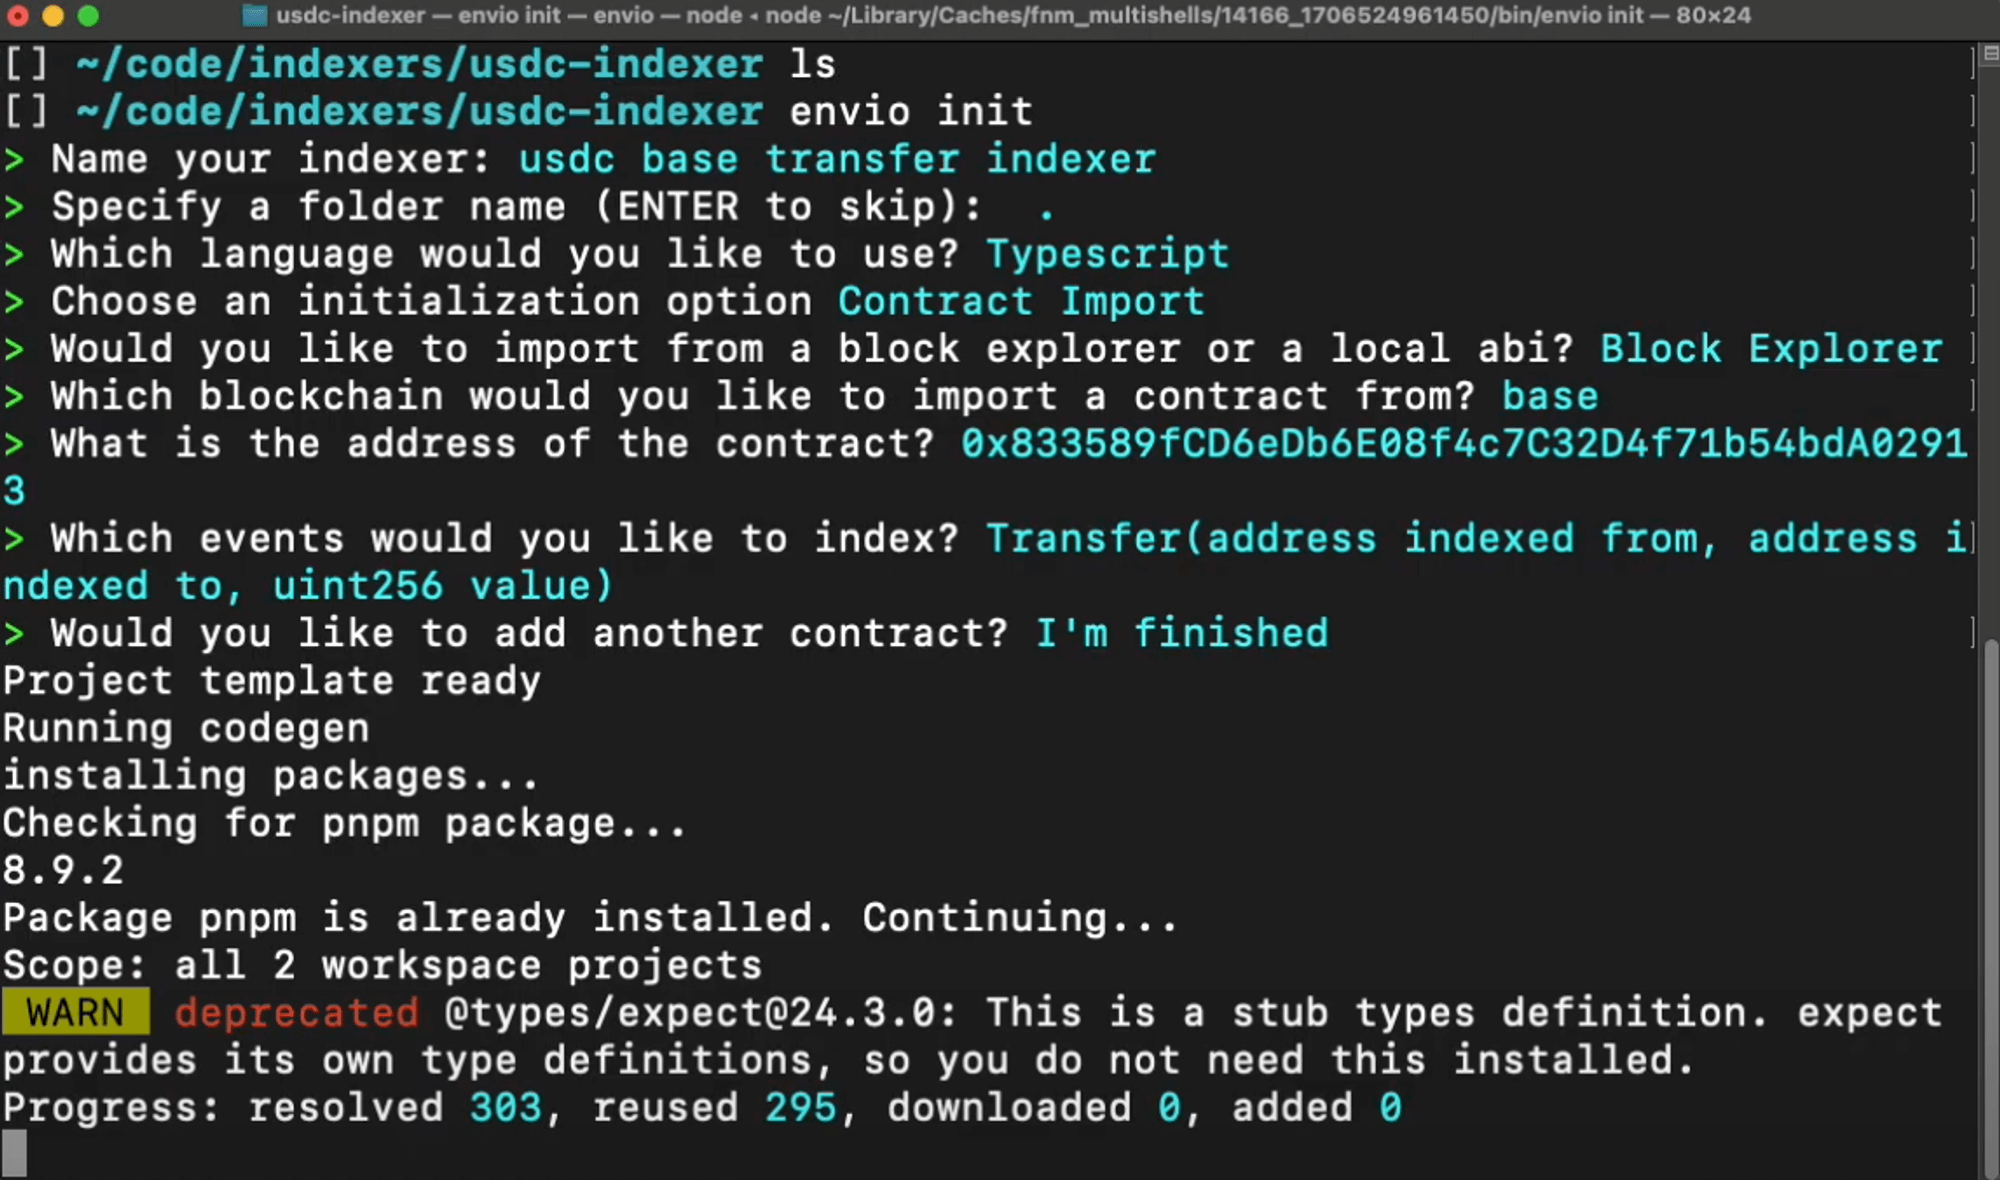
- Open your terminal in an empty repository and run the command ‘envio init.’
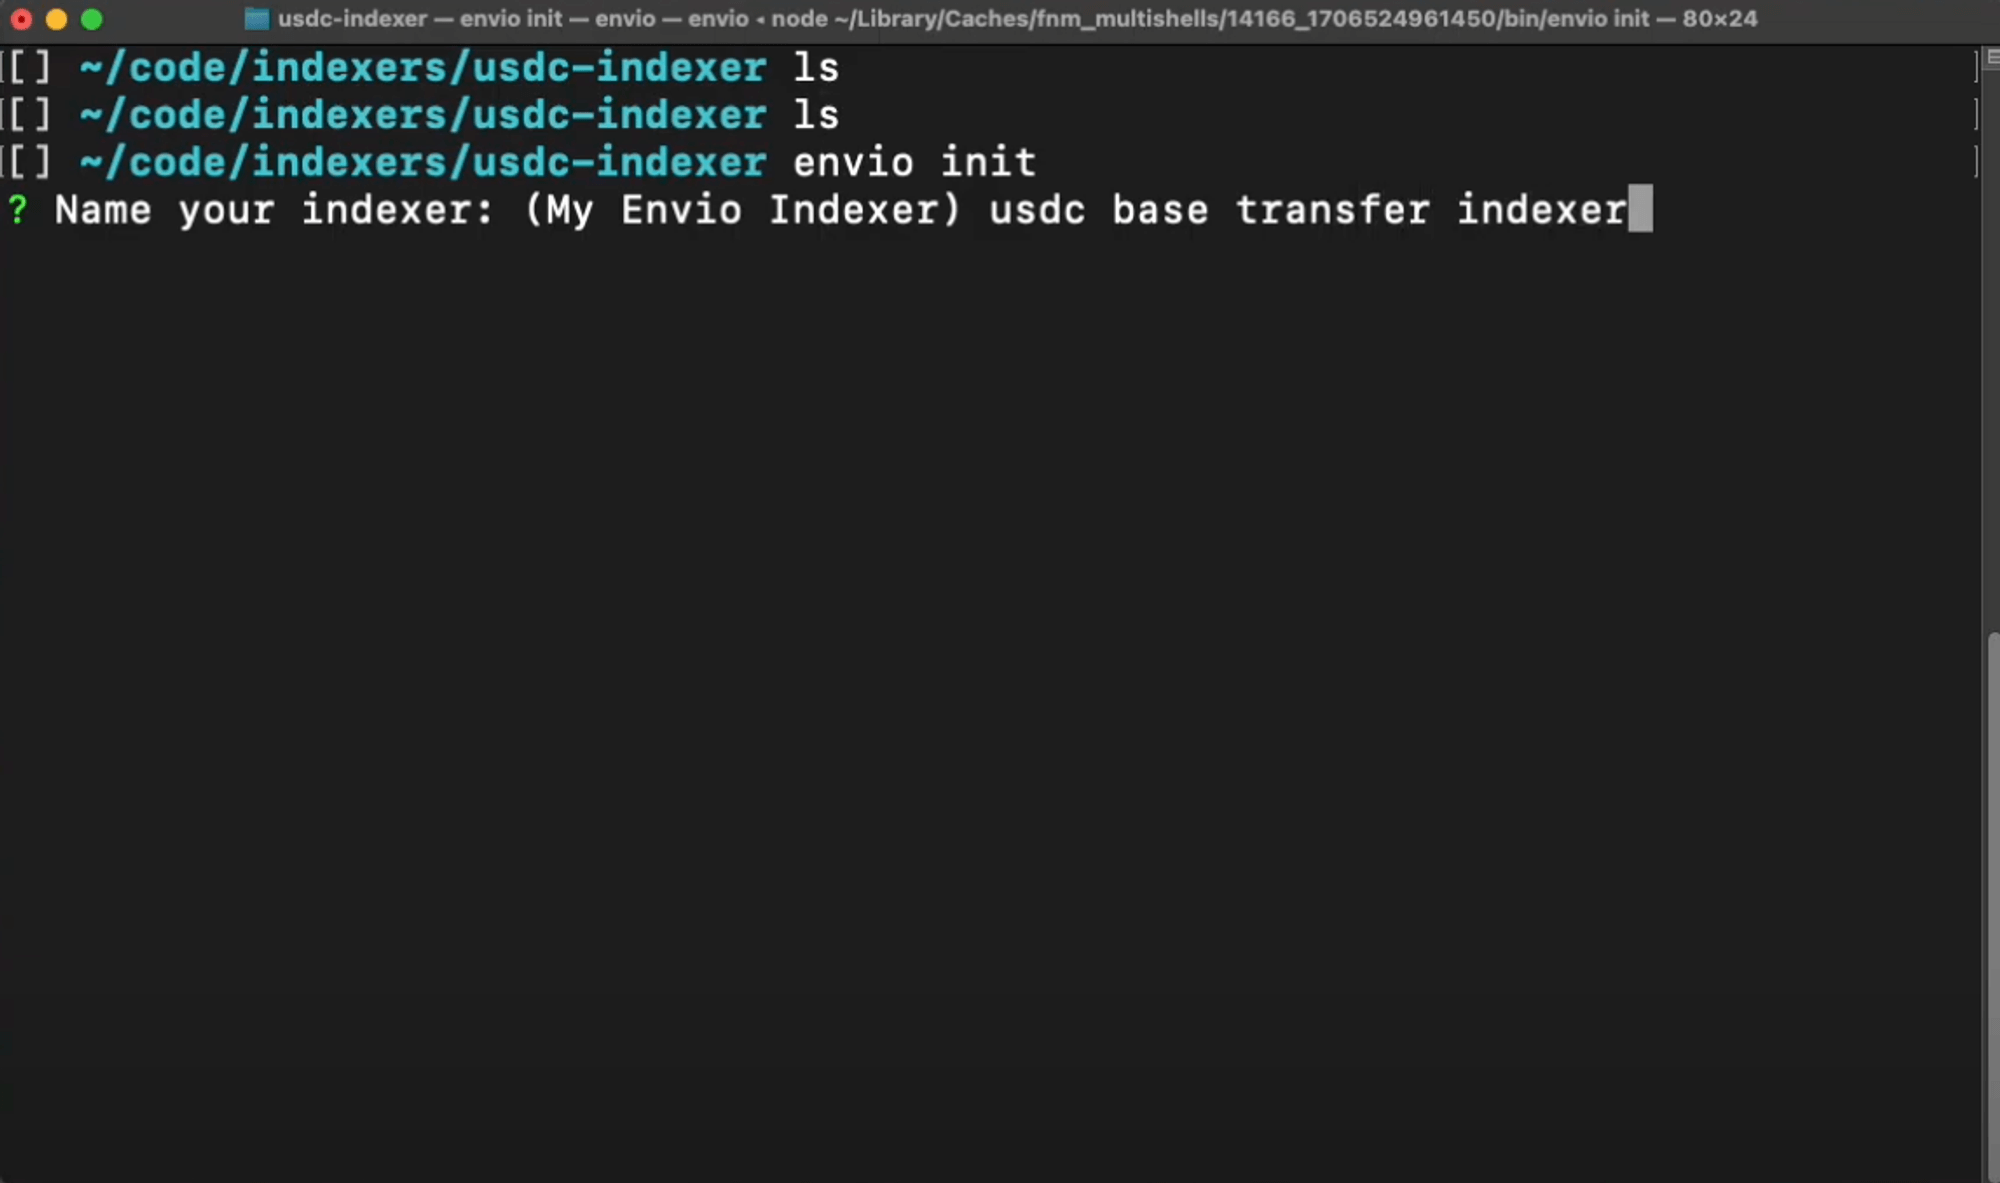
- Name your indexer anything you’d like (e.g., “usdc-base-transfer-indexer”).
- Choose your preferred language (e.g., TypeScript) and select “contract import.”
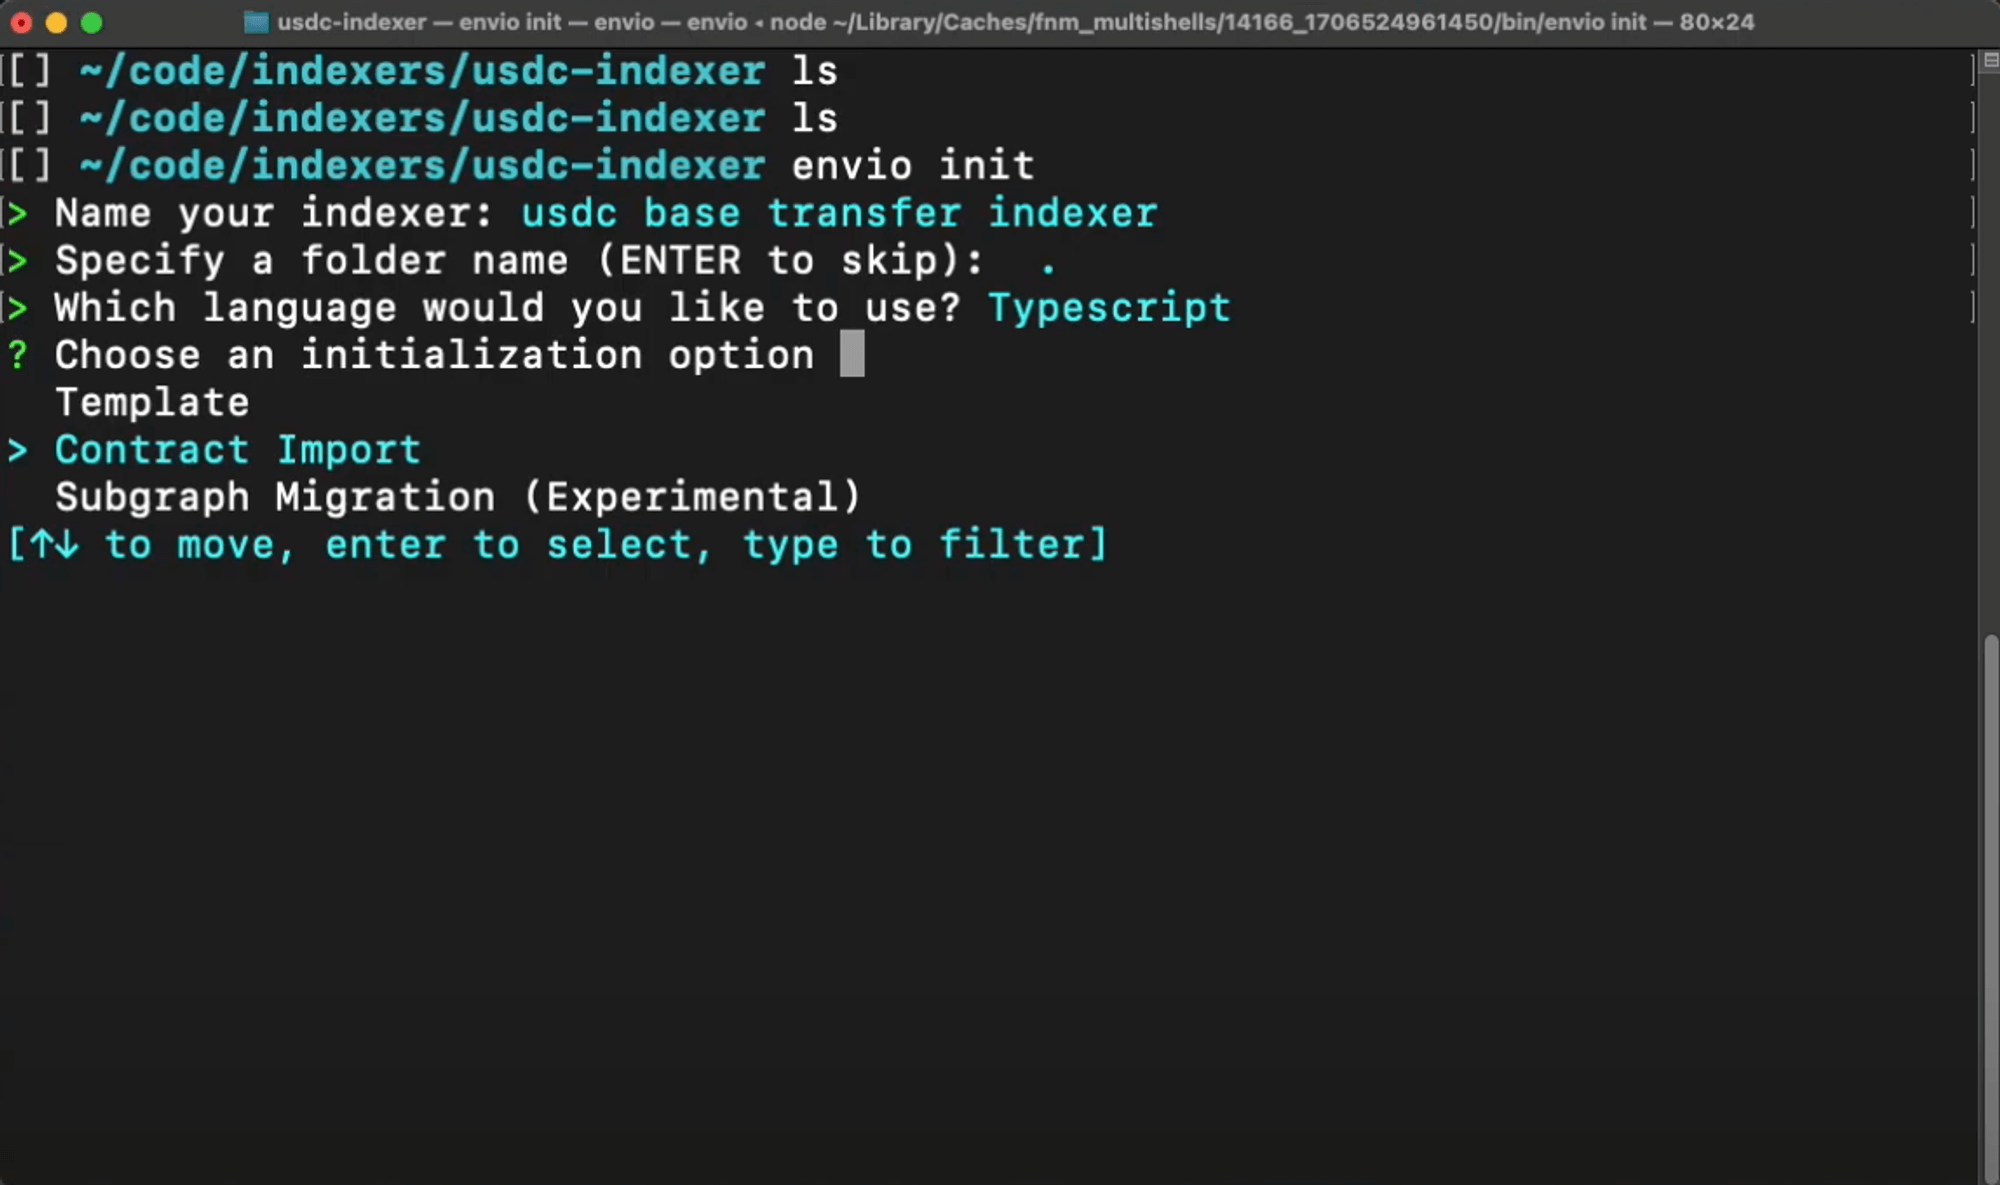
Note: Indexers on Envio can be written in JavaScript, TypeScript, or ReScript.
- Select
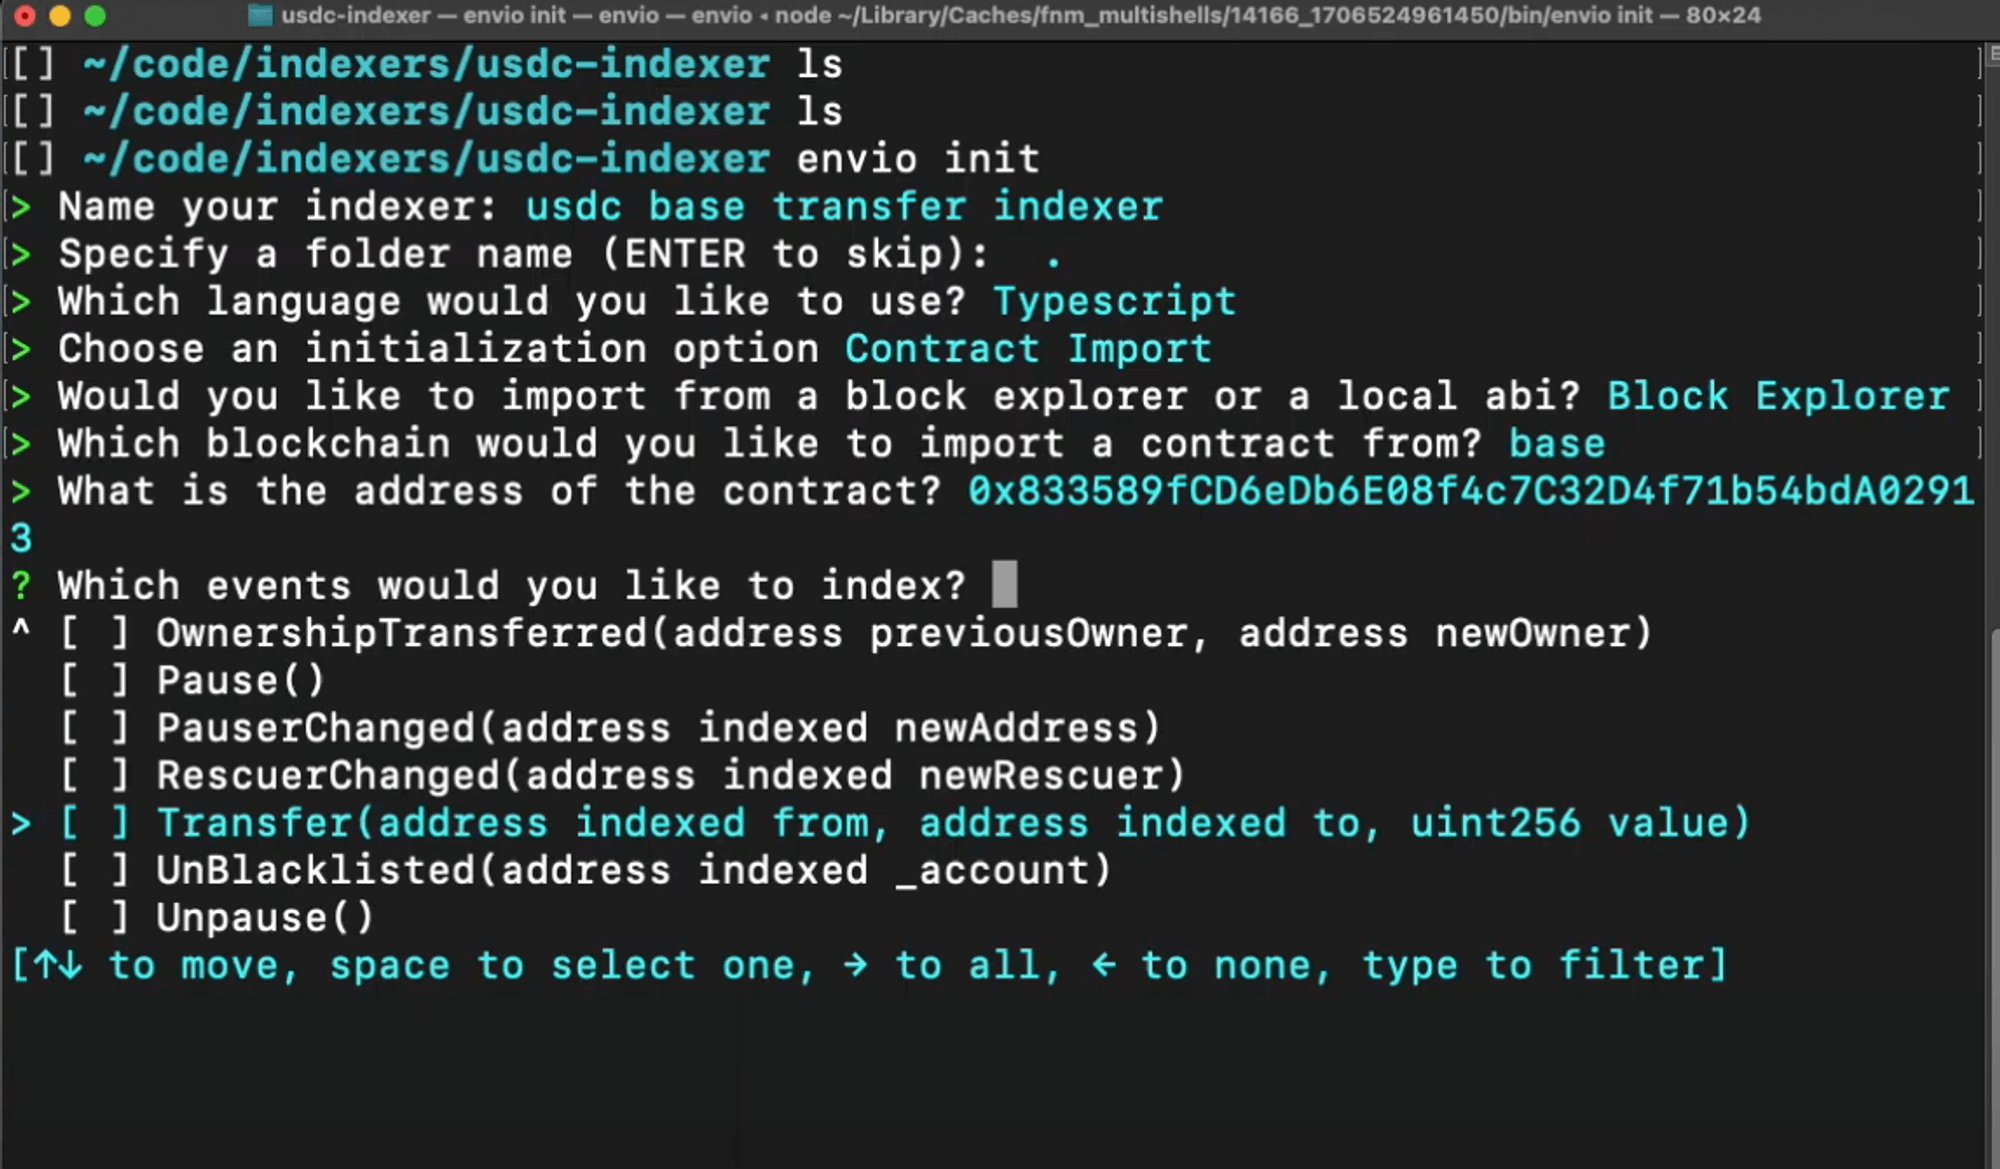
Block Explorerthen navigate toBase, and head over to Basescan, copy and paste the existing contract address, and choose the events you’d like to index. In this example, we’ll be indexing theTransferevent.
To select an event navigate using the arrow keys (↑ ↓) and click the space bar once you have made your choice.
Note: Multiple events can be selected and indexed at the same time.
USDC Token Contract address: 0x833589fCD6eDb6E08f4c7C32D4f71b54bdA02913
- Finally, review the configuration and select
I’m finishedto start generating the indexer.
Starting the Indexer
Before starting your indexer, run the command below to ensure that no conflicting indexers are running.
Stopping the indexer
pnpm envio stop
Note: Ignore if you’re a first-time user.
Start the indexer
envio dev
Now, let's run our indexer locally by running the command below.
Overview of Generated Code
Once that’s all done we can take a peek at the files generated by Envio in our source-code editor, in this example, we’re using VS Code (Visual Code Studio).
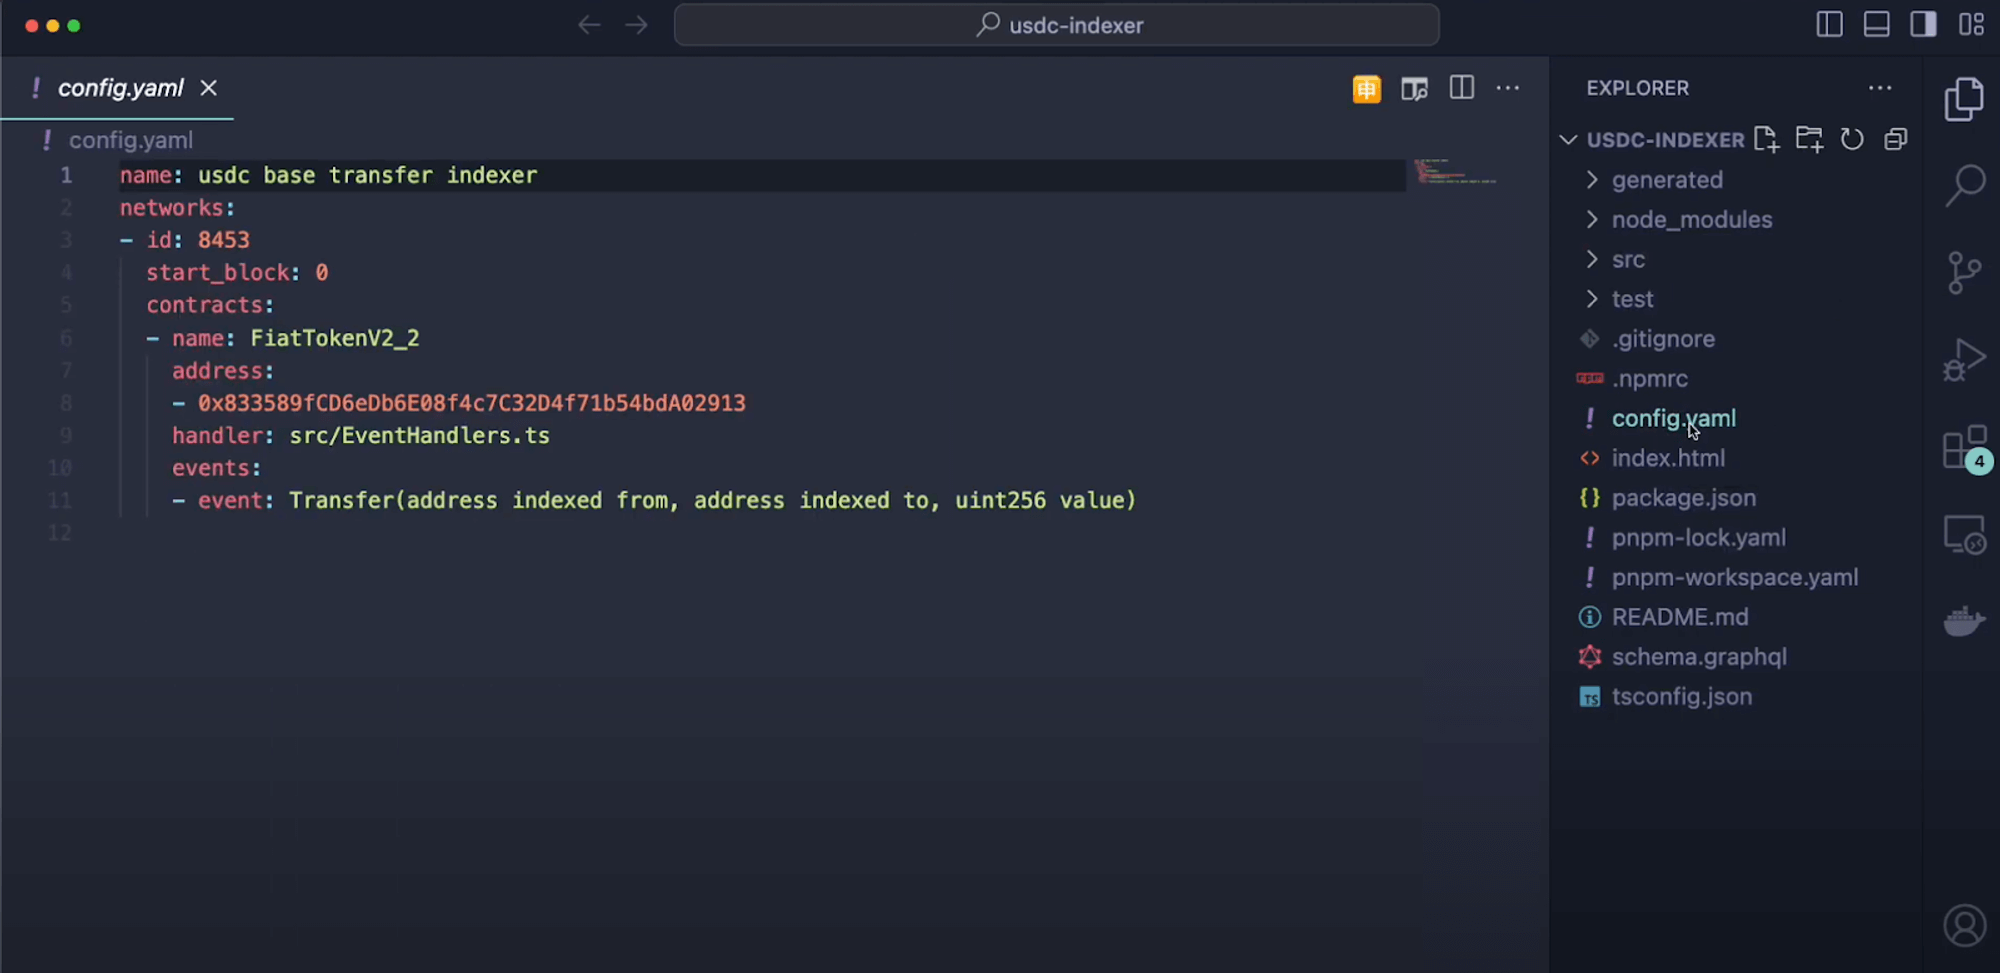
- config.yaml
This file defines the network, start block, contract address, and events we want to index on Base.
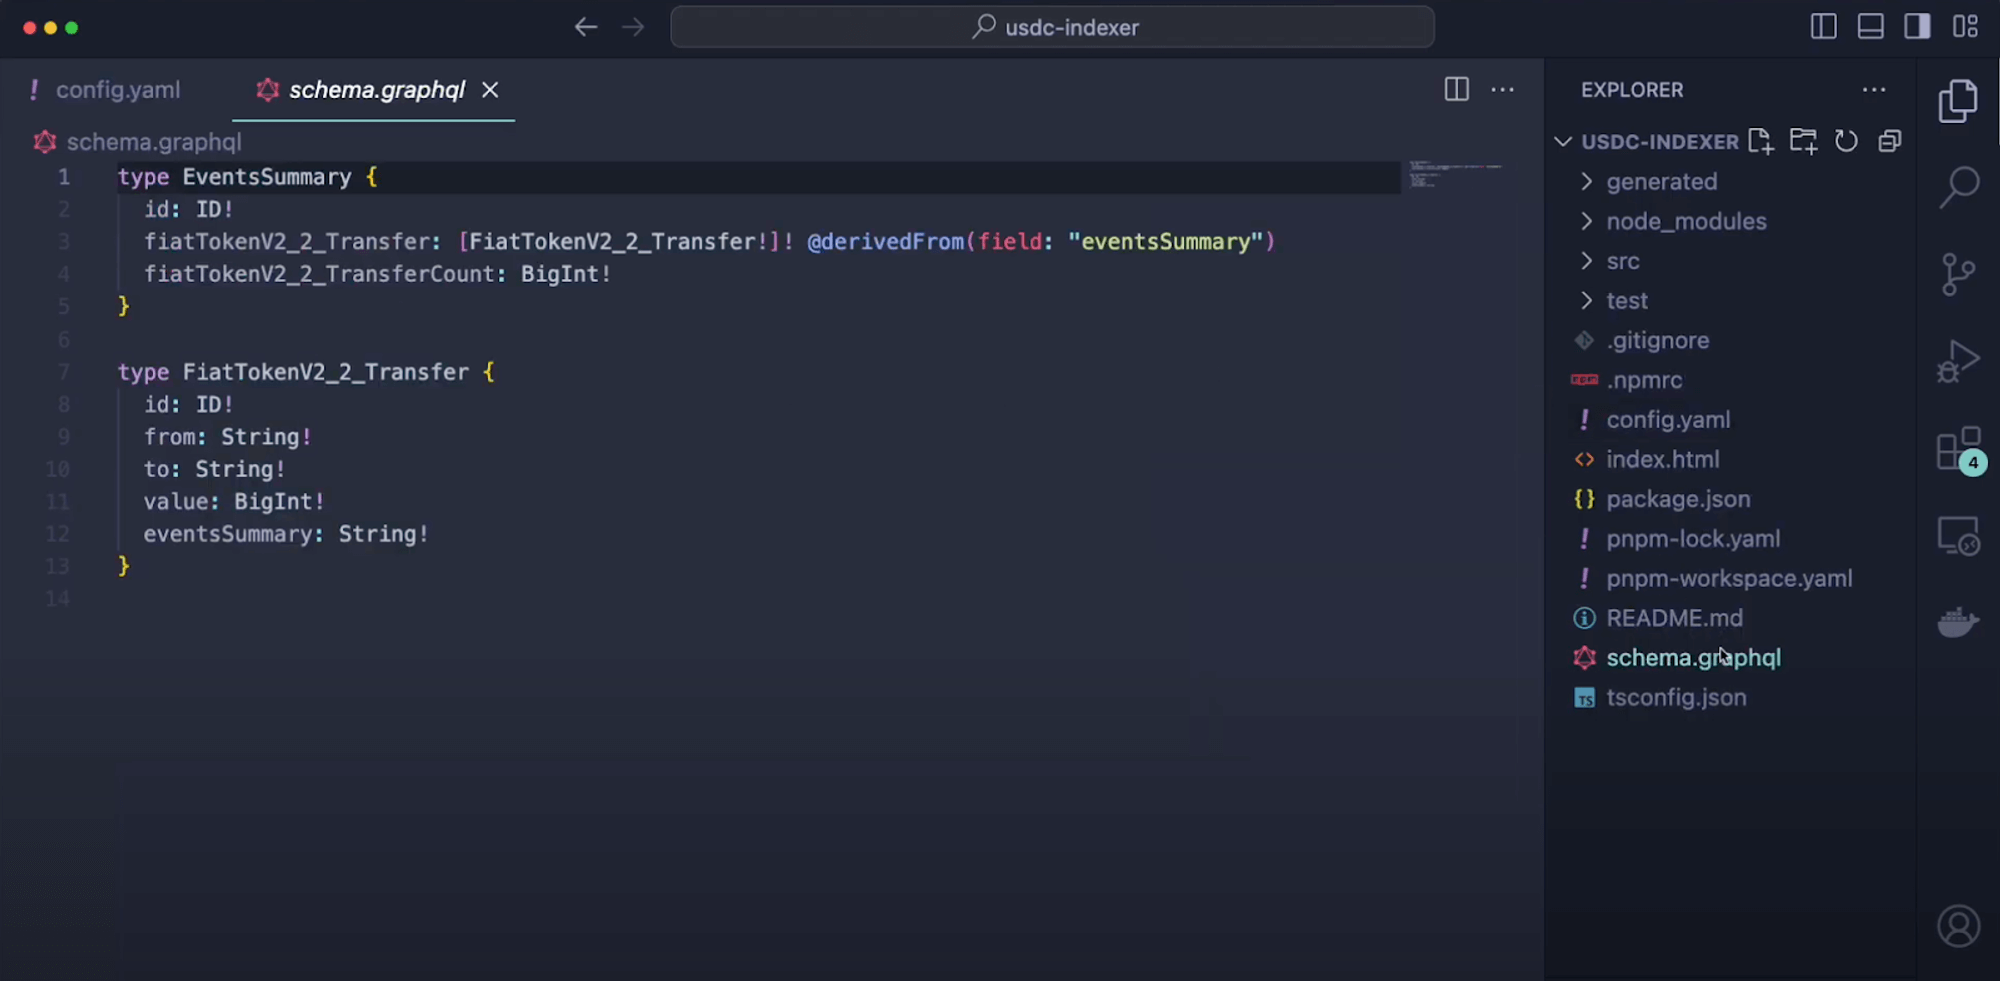
- Schema.graphql
This file saves and defines the data structures for selected events, such as the Transfer event.
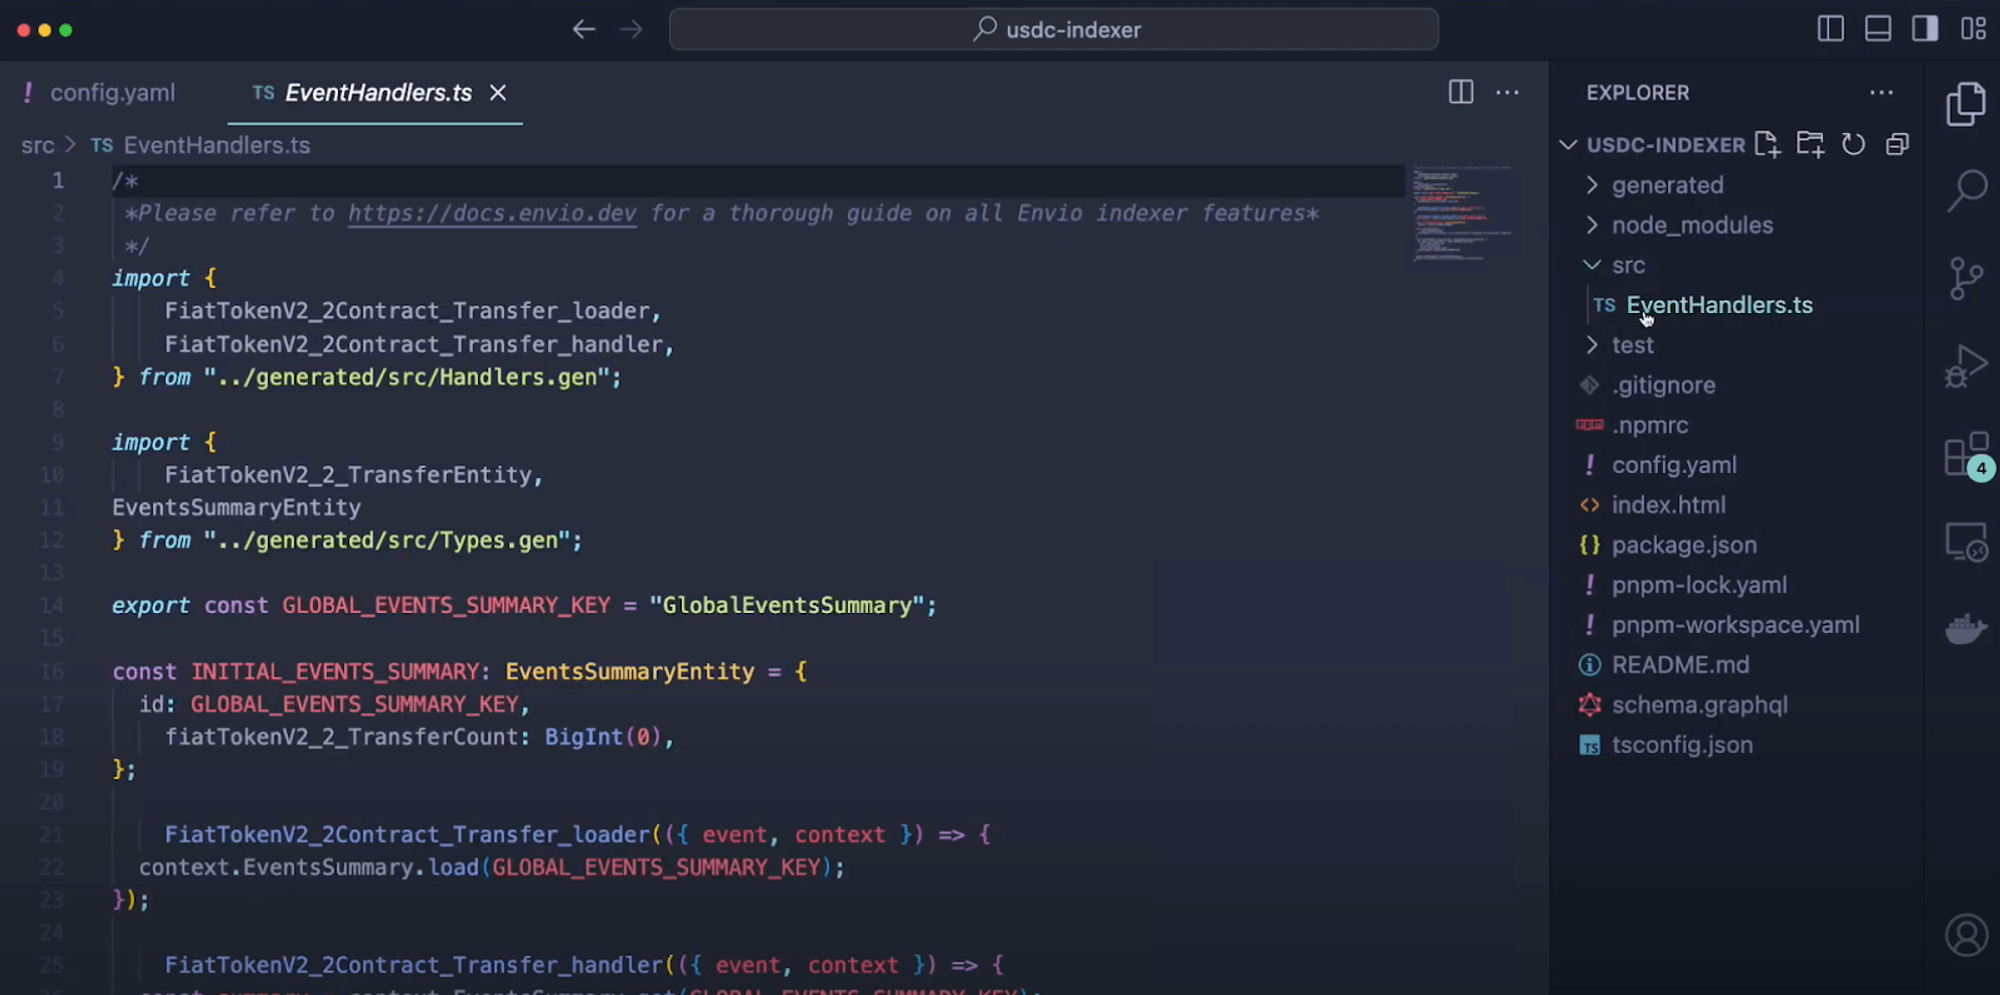
- event-handler
This file defines what happens when an event is emitted and saves what code is going to run, allowing customization in data handling.
Exploring the Indexed Data
Well done champions, now let’s explore the indexed data.
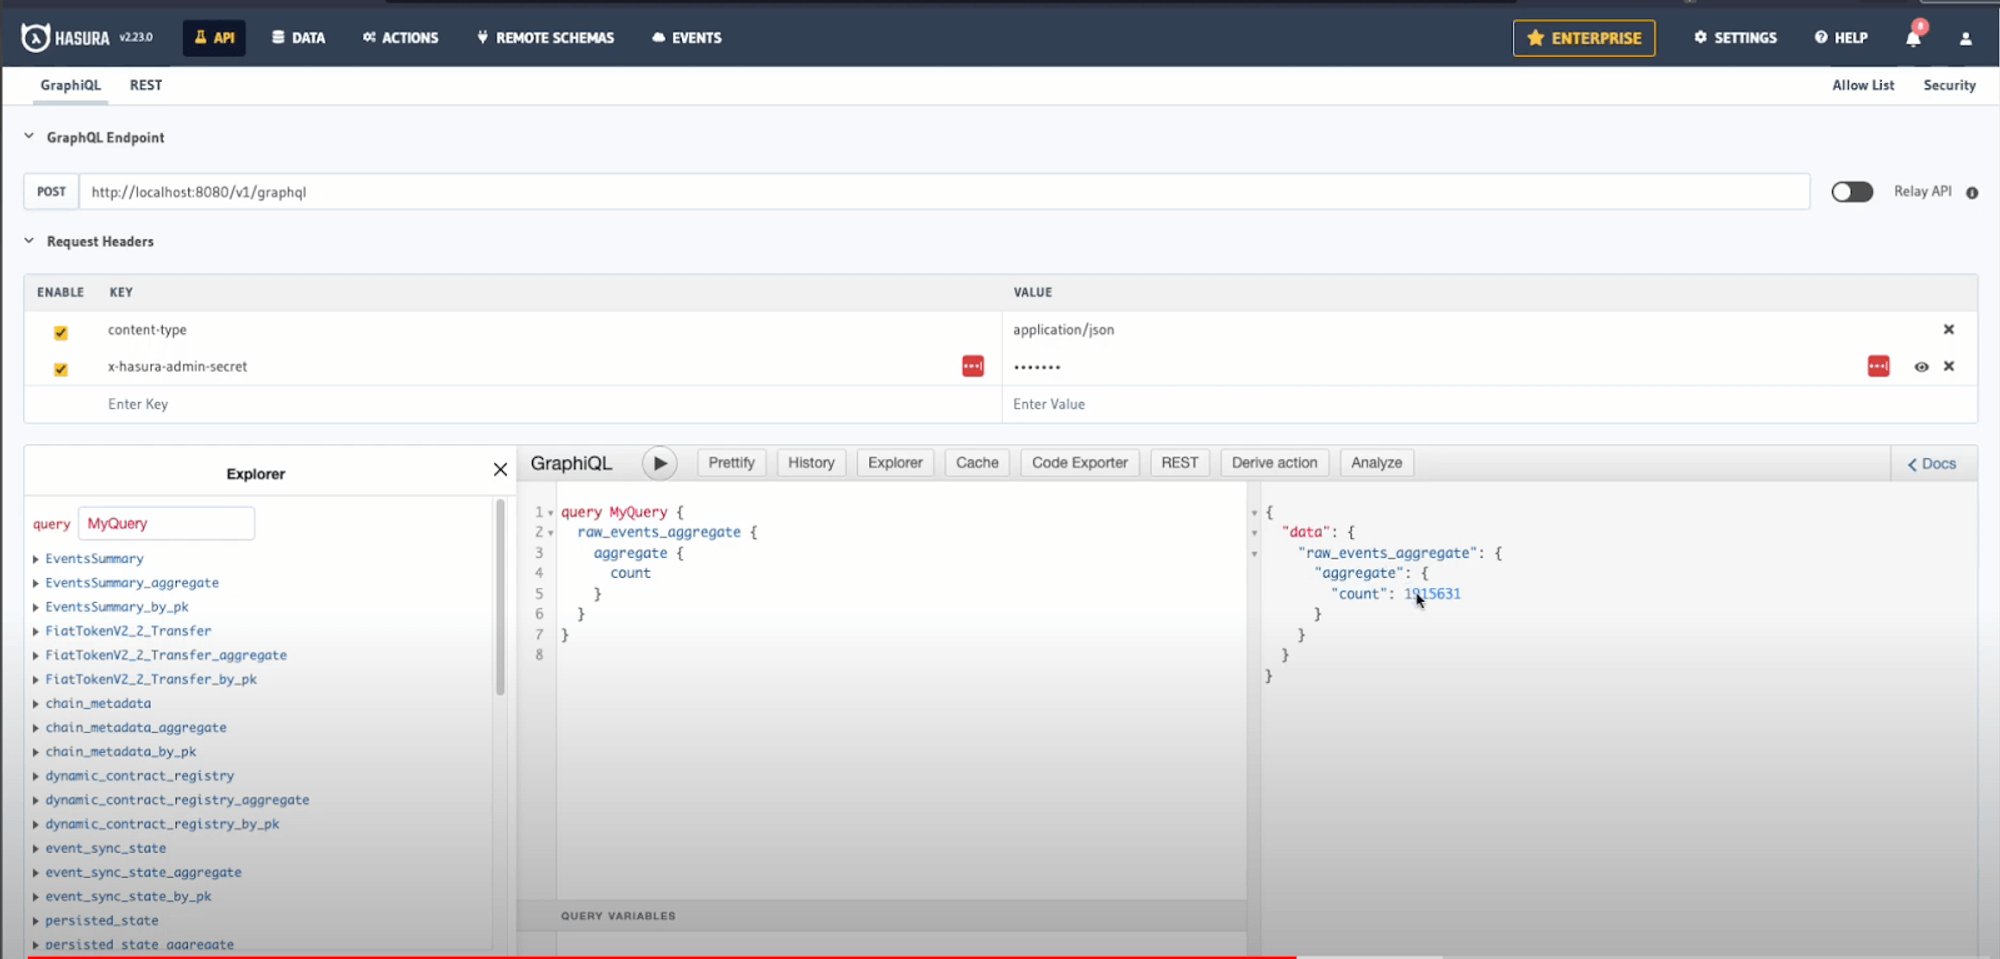
- Head over to Hasura, type in the admin-secret password (“testing”), and click “API” in the above column to access the GraphQL endpoint to query real-time data.
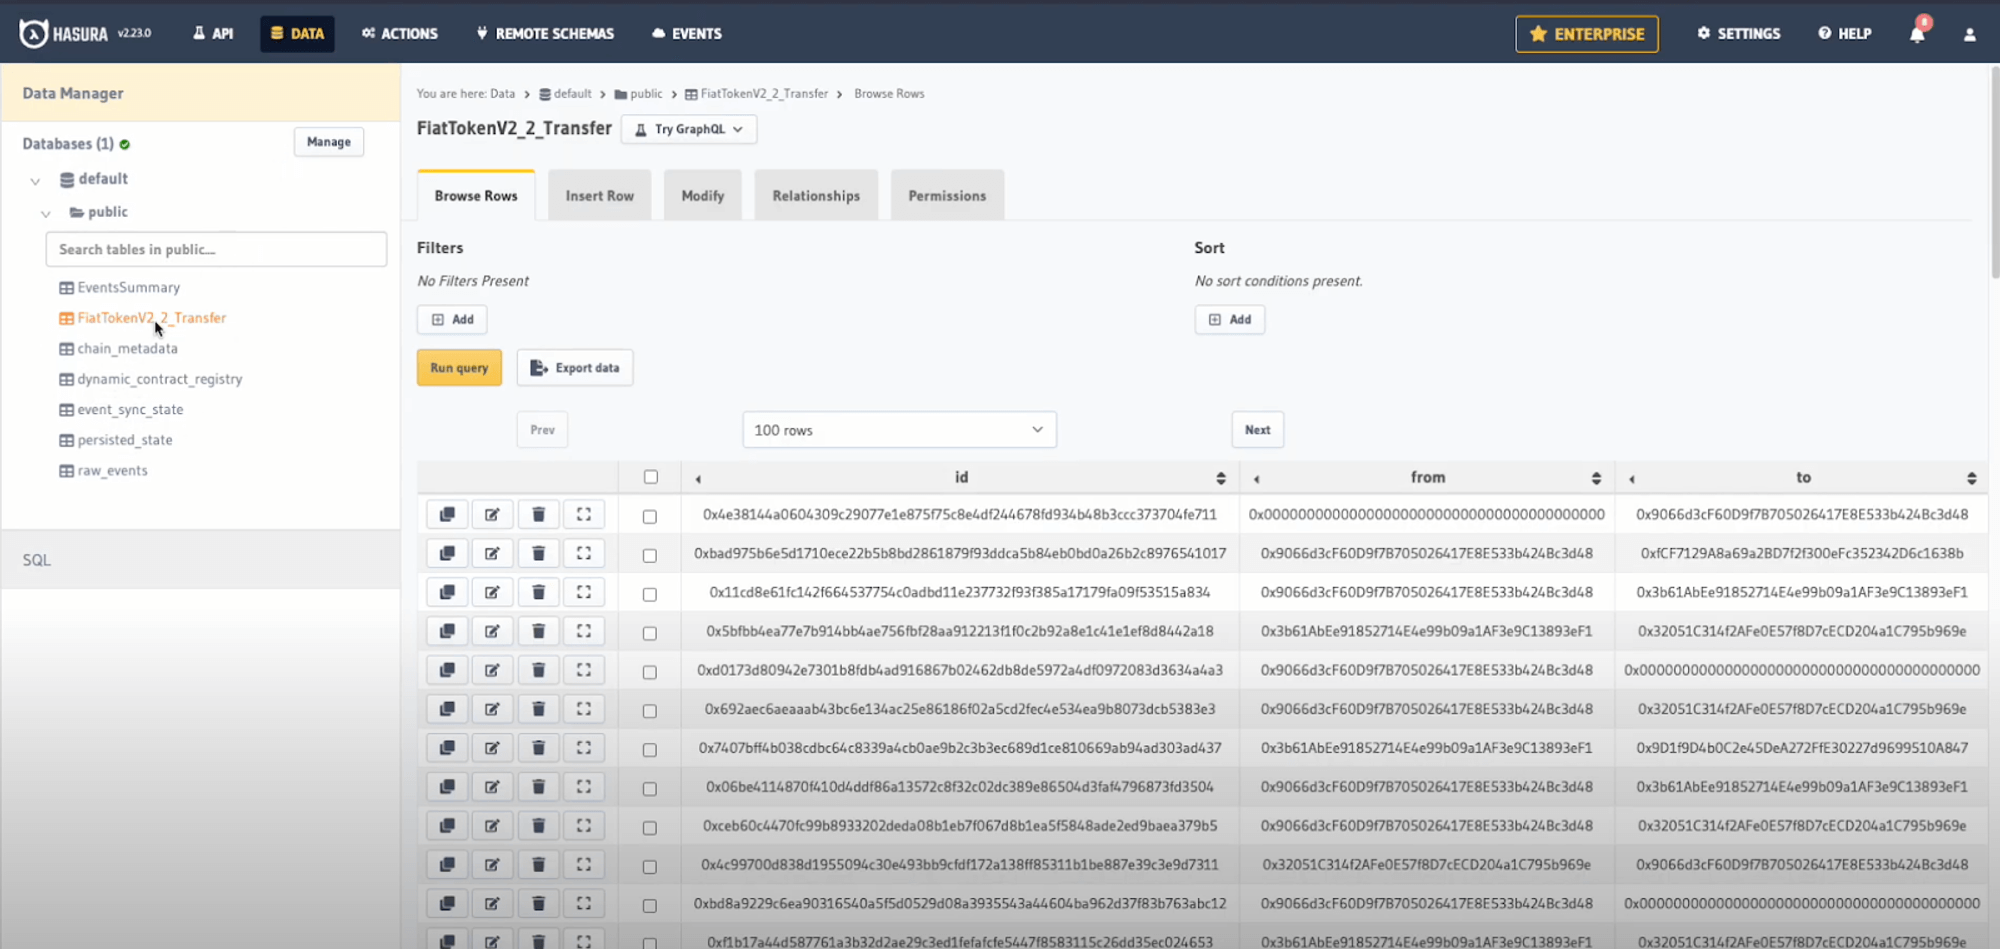
- Navigate to “Data” in the above column to monitor the indexing progress on Base through the events sync state table to see which block number you are on.
- Now let’s analyze some events. Simply head back to “API” in the above column. From there you can run a query-specific event, in this example "FiatTokenV2_2 Transfer" to explore details such as amounts, senders, recipients and values.
Once you have selected your desired events run the query by clicking the play button ( ▶️) to gain access to the real-time indexed data
For example:
Let’s look at getting 10 FiatTokenV2_2 Transfer events, and order them by the amount we would like to appear first (in this case: desc = largest amount), who it’s from, who it’s to, and the value being transferred.
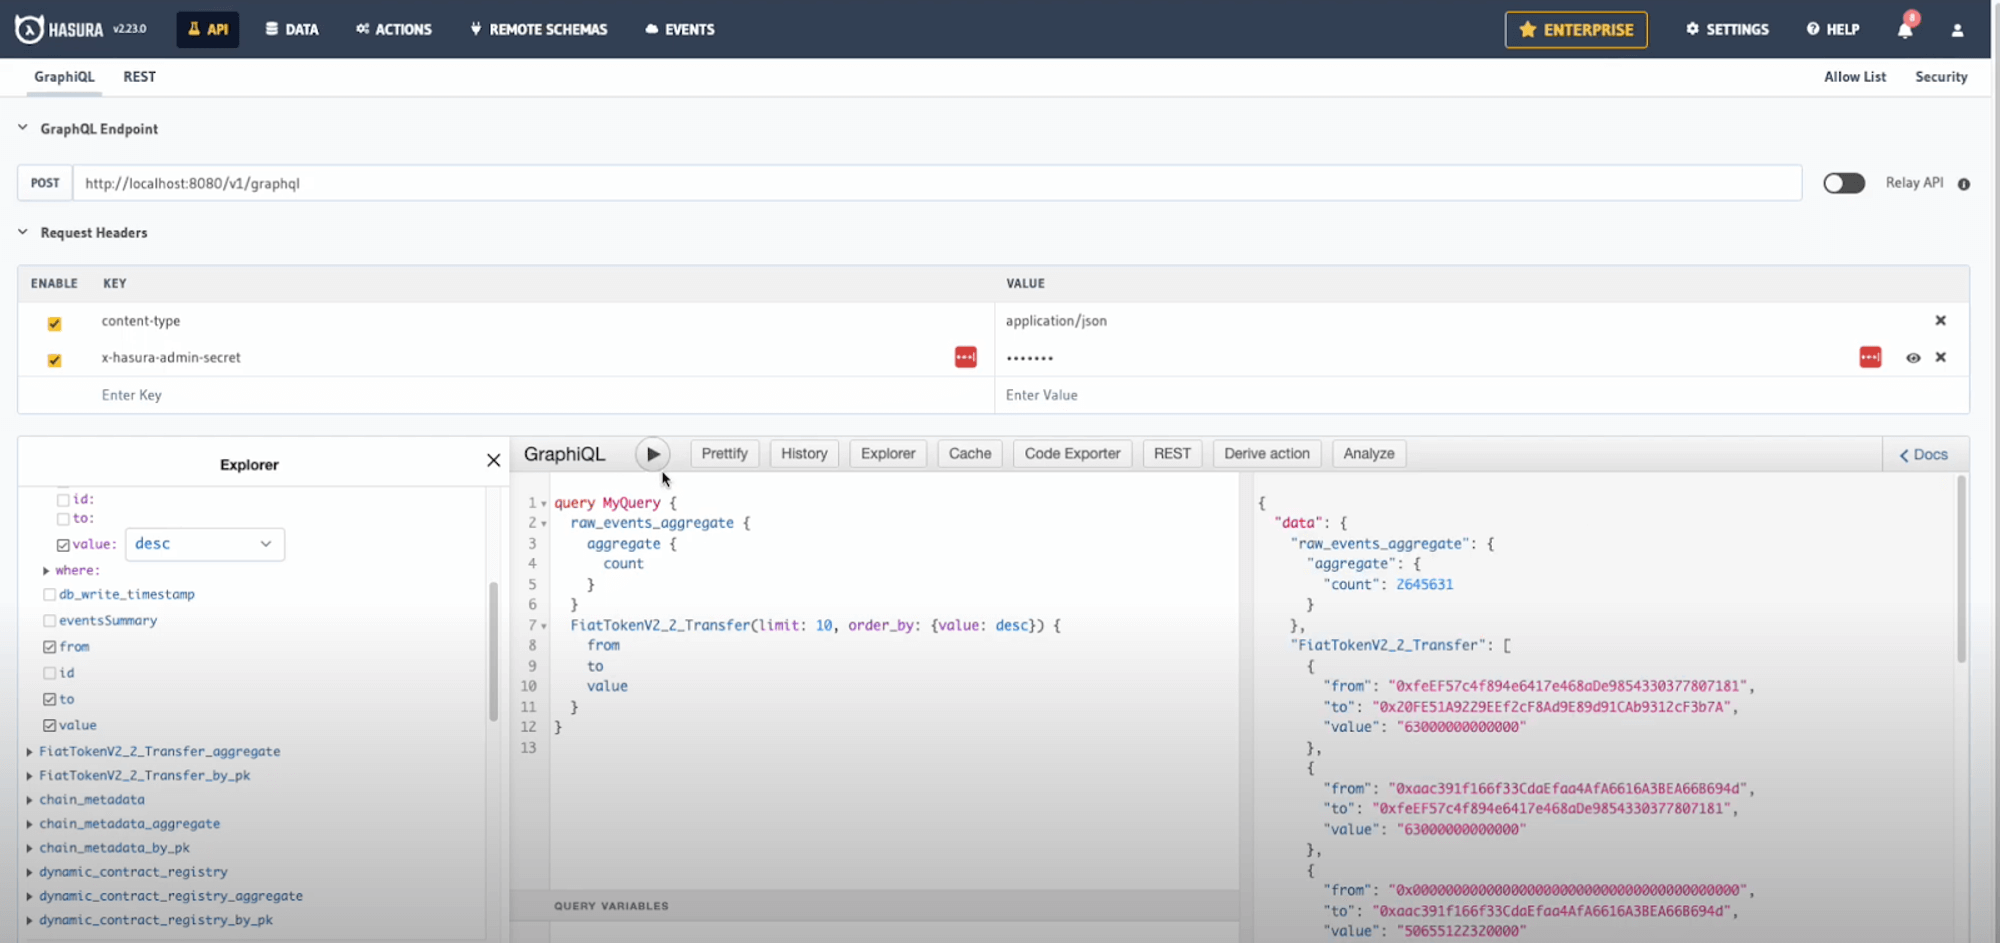
Run queries to explore specific events, such as the largest USDC transfers.
Conclusion
Congratulations! You've successfully generated an indexer and indexed 3.6 million USDC token transfer events in under 5 minutes on Base.
Be sure to check out our video walkthrough on Youtube, including other tutorials that showcase Envio’s indexing features and capabilities.