Organisation Setup
Use this guide to set up an organisation in Envio Cloud and grant access to your team.
Creating an Organisation
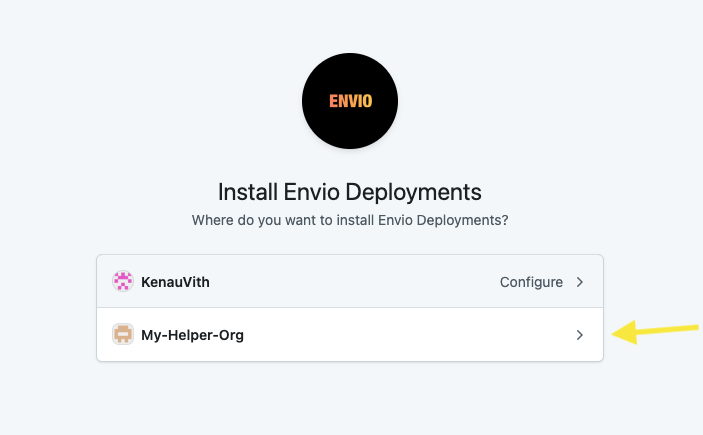
To create a new organisation, navigate to https://envio.dev and click the Login button in the top right corner. Log in with GitHub, then in the drop down next to your username, select Install App. This action redirects you to GitHub, where you can install the Envio Deployments app for the relevant GitHub organisation.

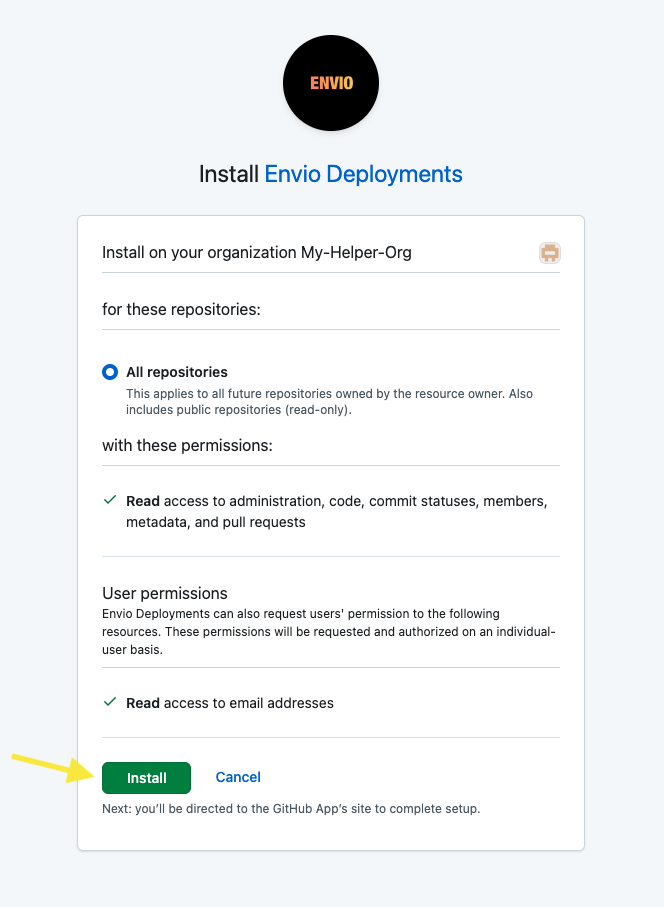
On GitHub, choose the organisation you want to enable and complete the installation. Once approved, GitHub returns you to the new organisation's page in the Envio Cloud UI.
Access Control
Being a member of the GitHub organisation does not automatically grant access to the organisation in the Envio Cloud UI. Each member must be explicitly added by the organisation admin. If someone attempts to visit the organisation URL (e.g., https://envio.dev/app/<org-name>) without being added, they'll see a "You are not a member of this team" message.

Adding Members
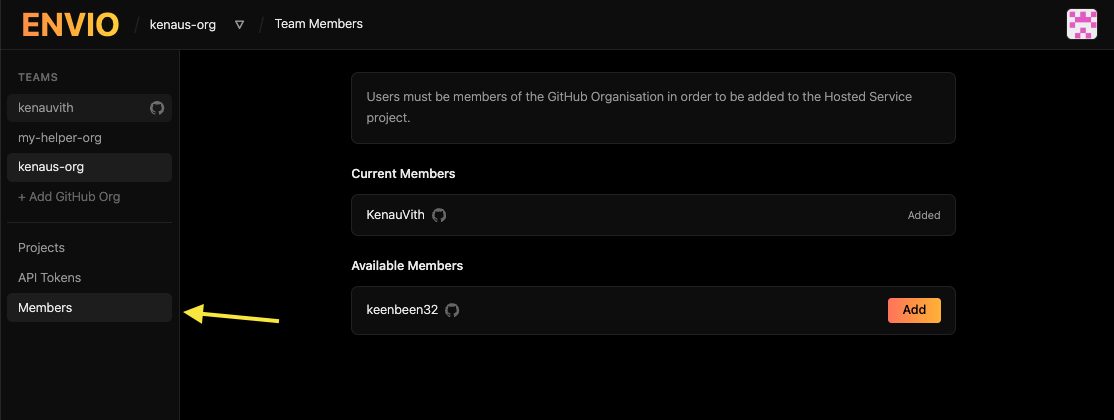
The organisation admin must add members from the organisation page in Envio. Navigate to the Members page to see all users associated with your GitHub organisation, then grant access by selecting Add next to each person.
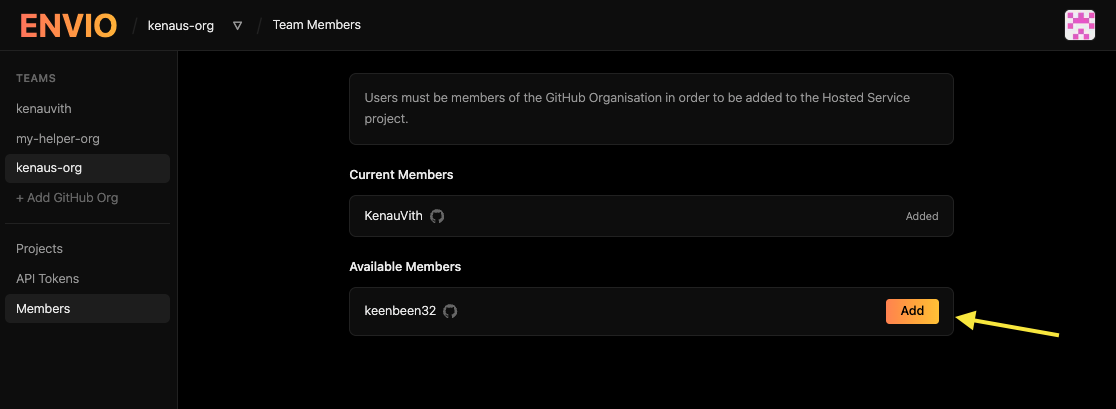
Once added, members should be able to access the organisation's page in the Envio Cloud UI and start creating projects!